Welcome to AI-Powered Web Development!
A Visual Guide to Installing Gemini in VS Code and Building Your First Website
Part 1: Setting Up Your Developer Toolkit
Step 1: Install VS Code
VS Code is your code editor. It's where you'll write the code for your websites.
- Open your browser and go to code.visualstudio.com.
- Click the big blue "Download" button.
- Run the installer you downloaded.
- Follow the setup instructions, keeping the default settings.

Part 2: Bringing Gemini into VS Code
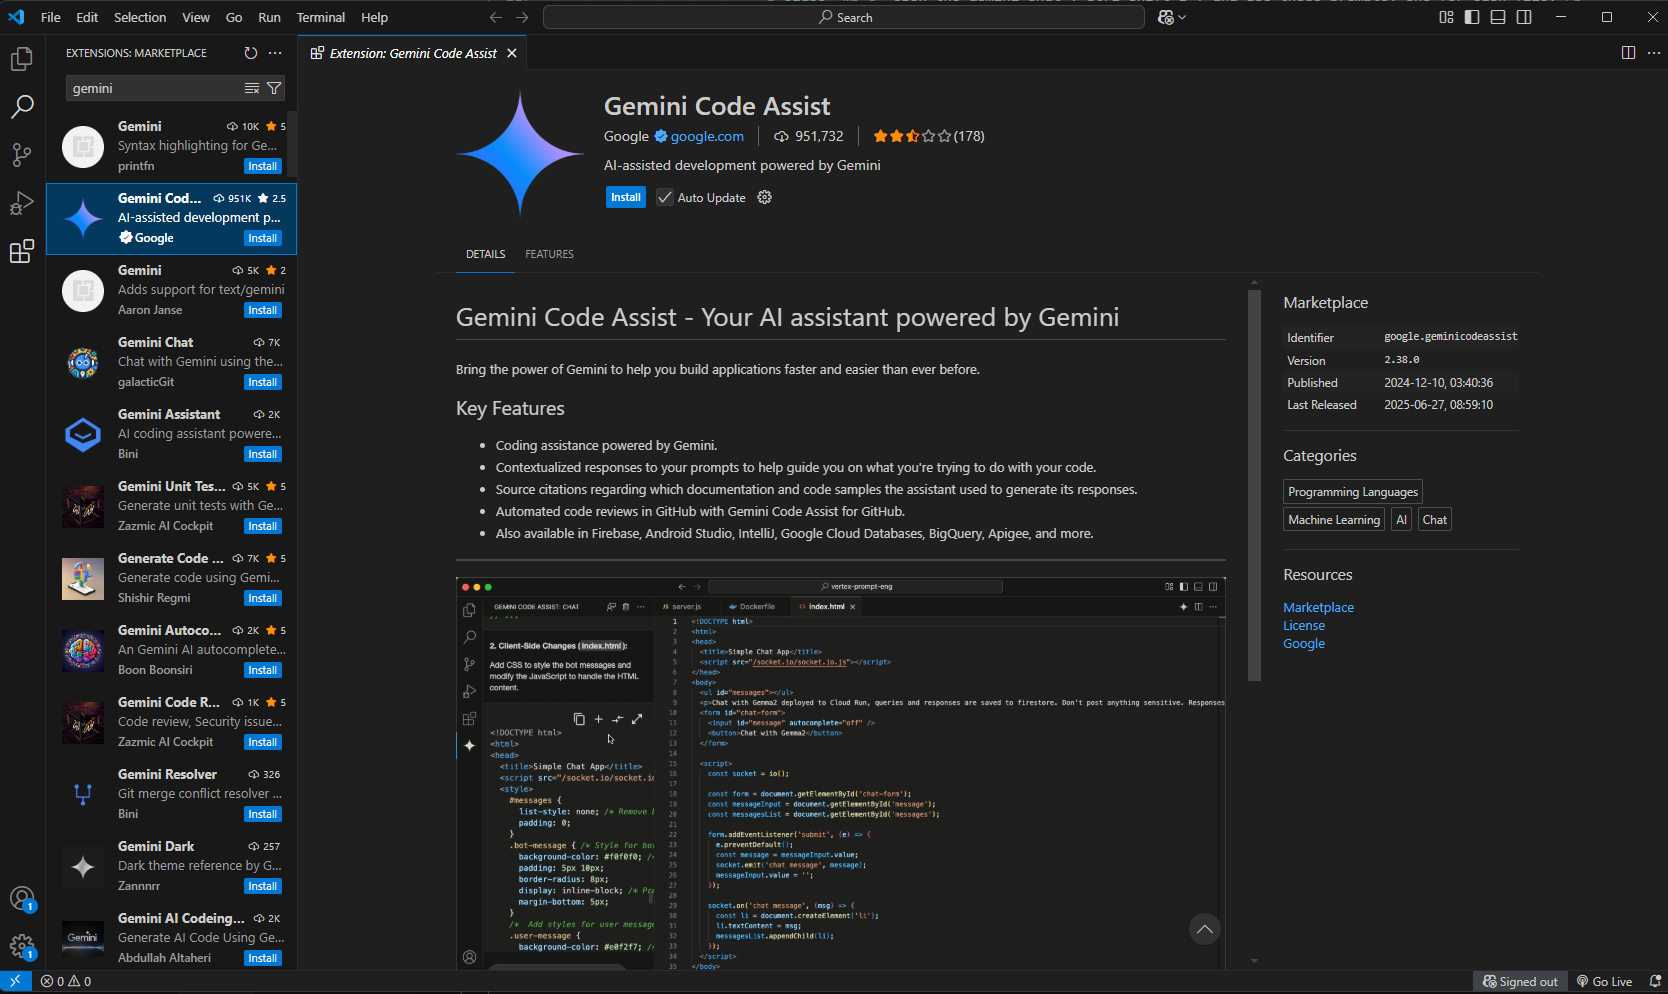
Step 2: Find the Gemini Extension
Now let's add the Gemini AI assistant to VS Code.
- Click the Extensions icon on the left-side Activity Bar.
- In the search bar, type
Gemini. - Look for the one published by Google.
- Alternatively, go to Gemini Code Assist and install.
- Click the blue Install button.
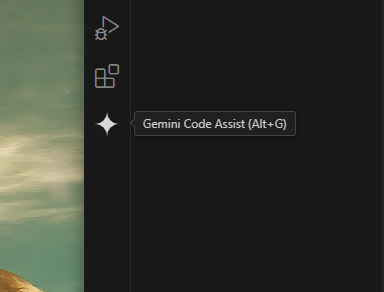
- After installation, click the new Gemini icon in the Activity Bar.
- Click the button to sign in with your Google account.
- Follow the browser prompts to authorize access.
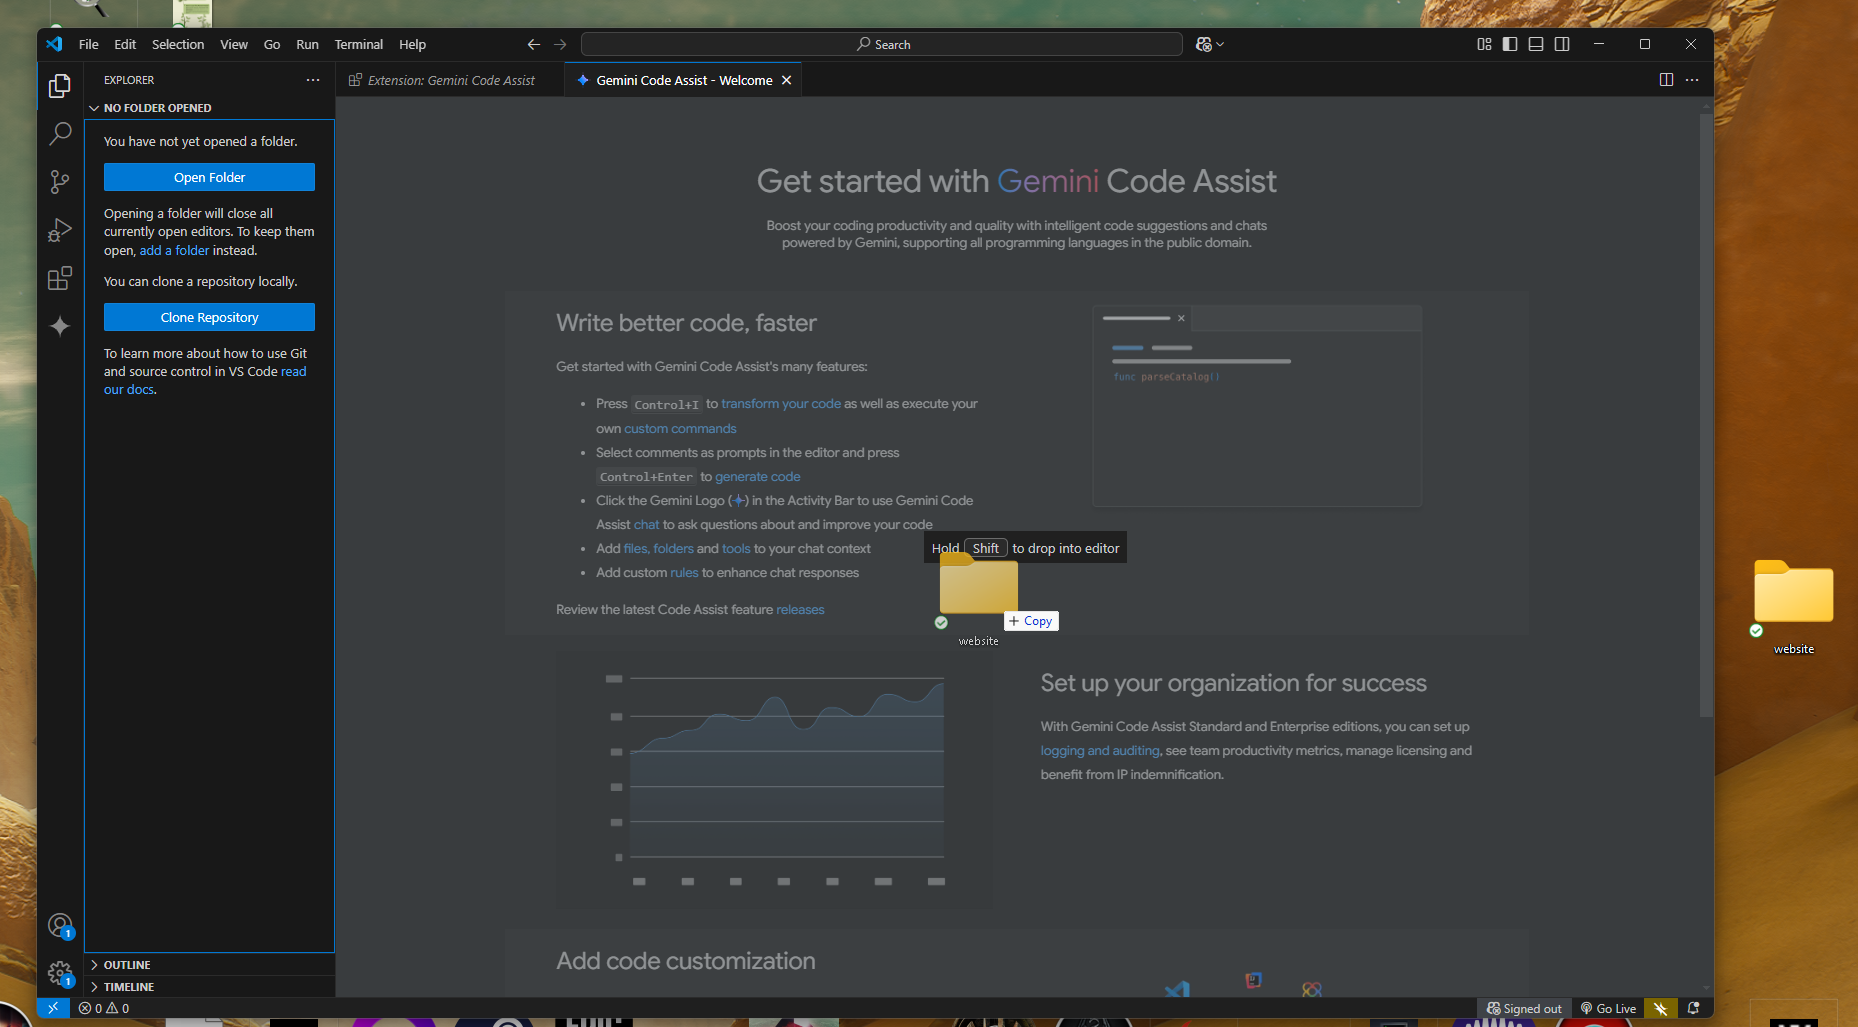
Step 3: Install & Sign In
- Create an empty folder on your desktop.
- Drag and drop it into the middle section of VS Code.
- Authorize the editor to access the folder.
Part 3: Generating Your First Website
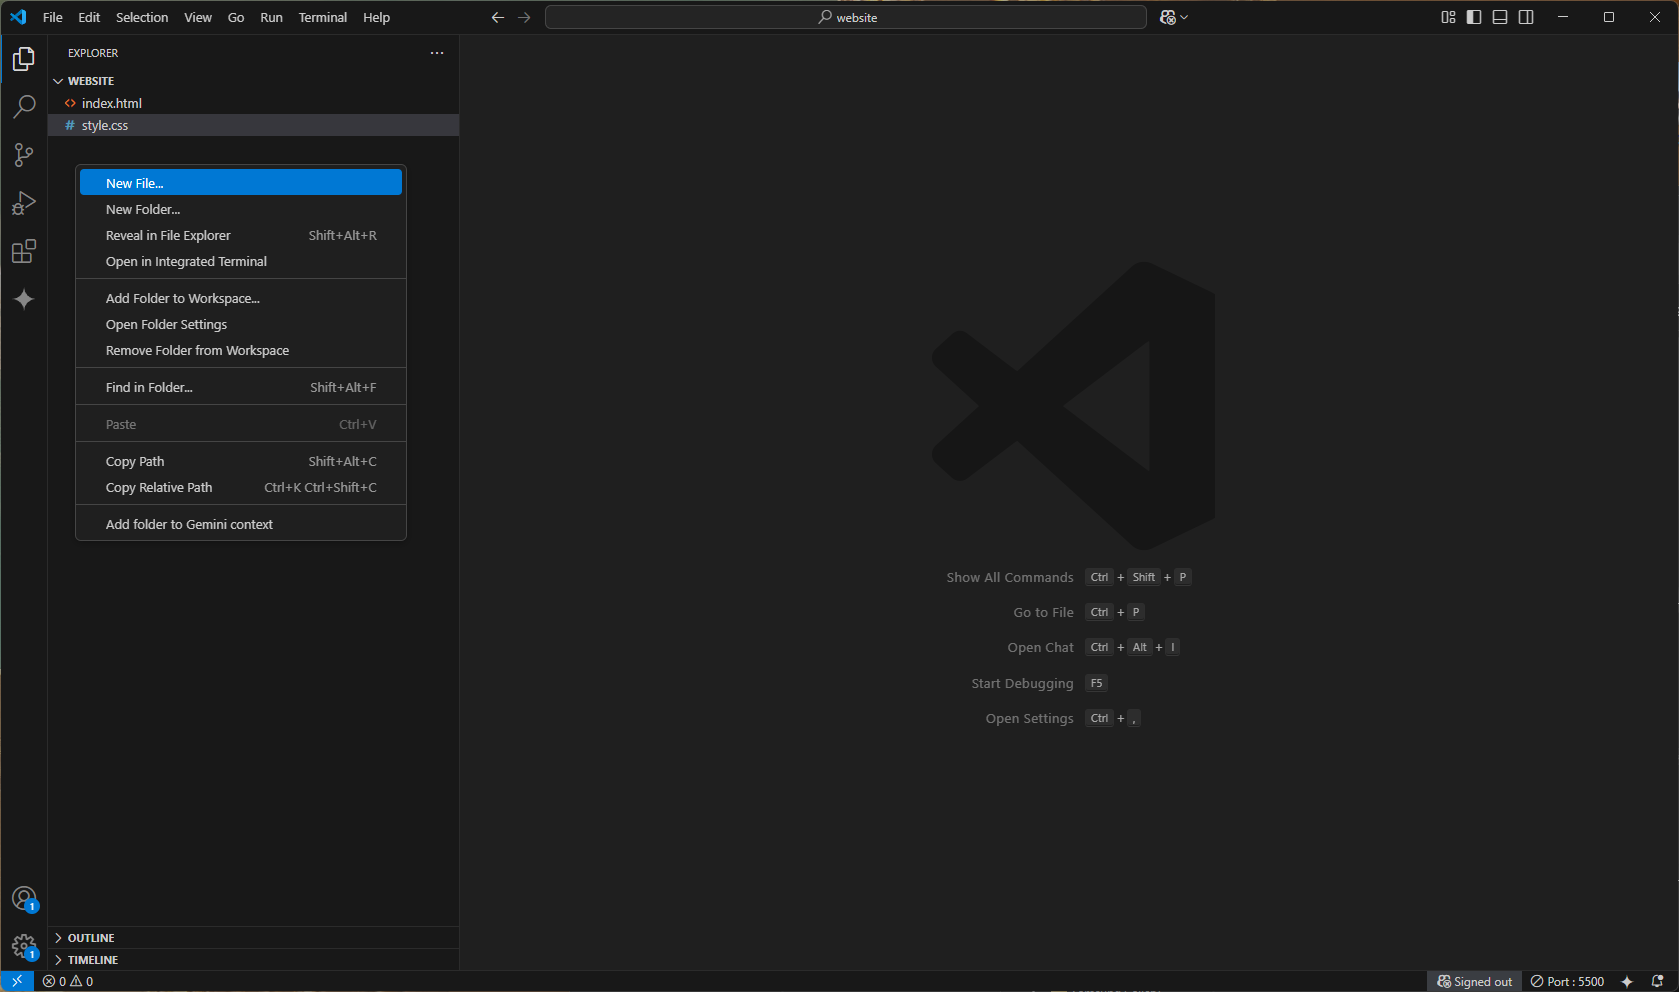
Step 4: Create Your Files
Every website needs files. Let's make ours.
-
Go to
File > Open Folderand create a new folder for your project. - In the Explorer panel, right-click and select "New File".
- Create
index.html. - Create
style.css.
Step 5: Talk to Gemini
Open the Gemini chat (Ctrl+Shift+I) and use these prompts, one for each file.
For index.html:
For style.css:
Gemini will generate the code. Click Insert at Cursor to add it to the correct open file.

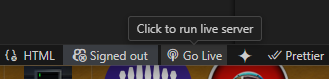
Step 6: See Your Website!
Time to see your creation.
- Install the Live Server extension from the marketplace.
- Make sure you save the files.
- Right-click your
index.htmlfile. - Select Open with Live Server.
- Your browser will open with your new website!
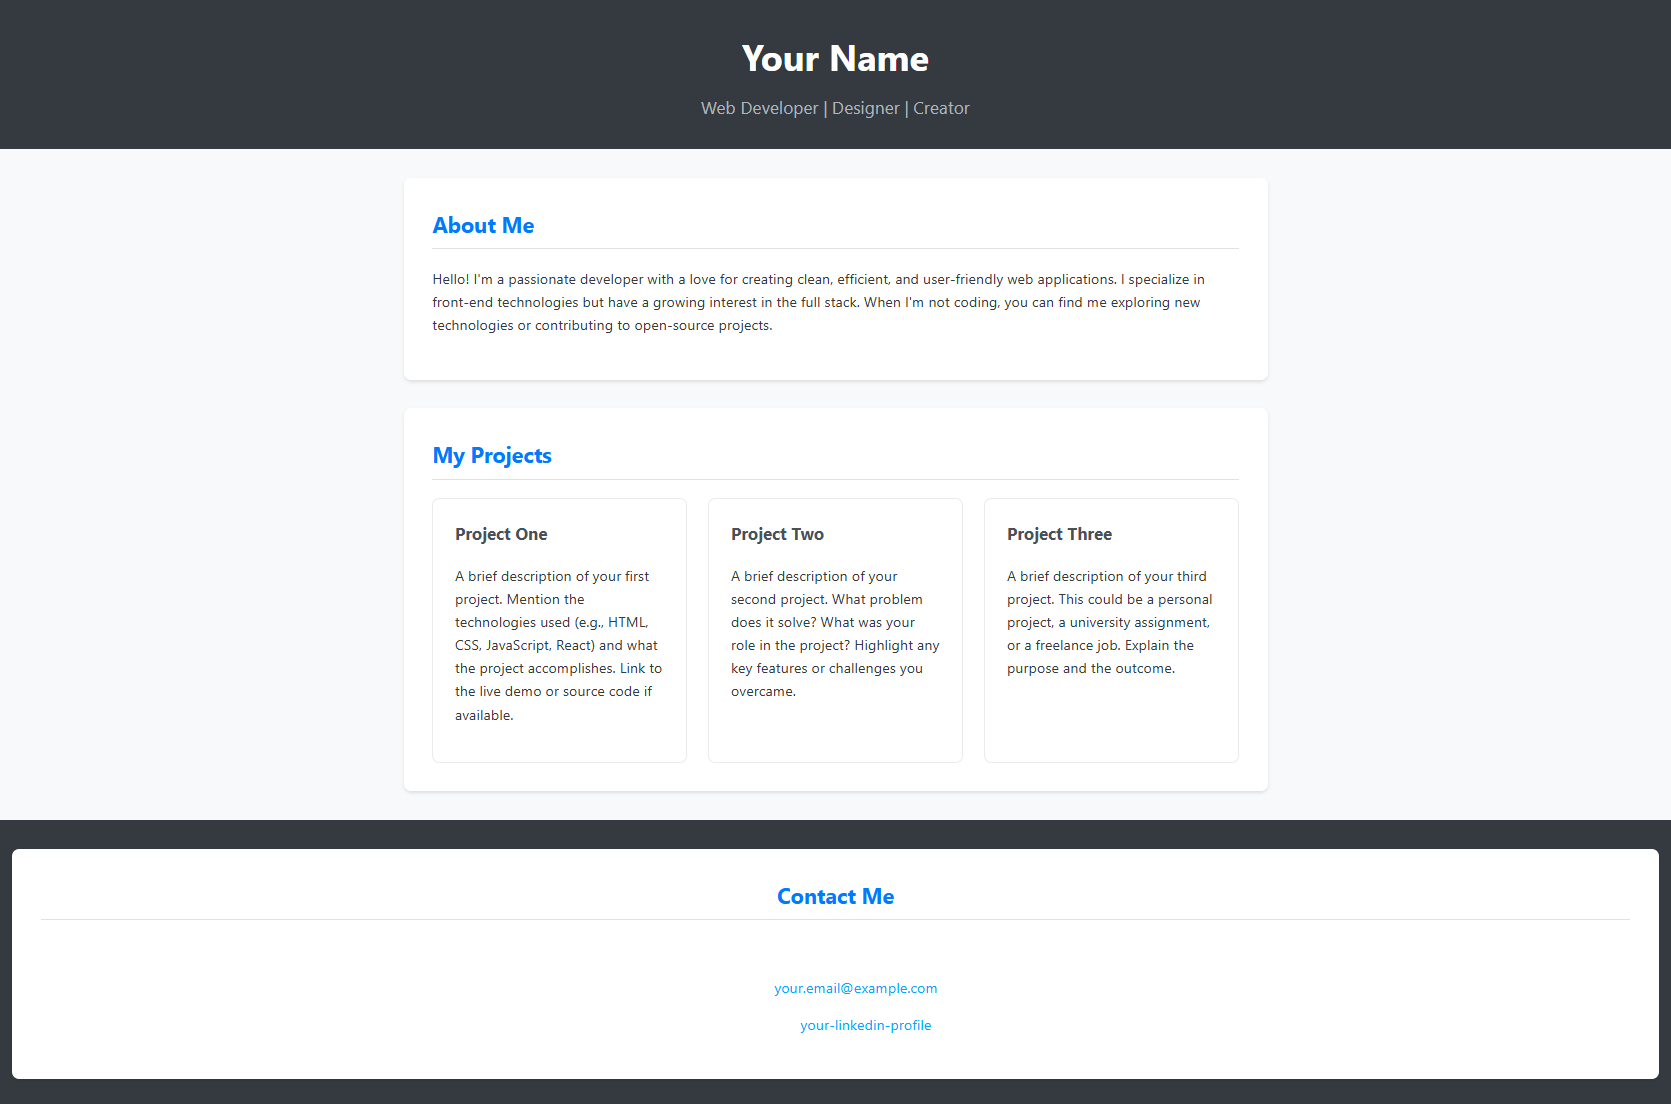
Step 7: Customize and Admire!
Your website is live! Now, go back to index.html and
replace the placeholder text with your own info.
CHALLENGE: Add SEO to your website
Optimize Your Website for Search Engines
Make your website more discoverable by adding these SEO elements:
-
Add meaningful
metatags in your<head>section:<meta name="description" content="Your website description here"> <meta name="keywords" content="your, keywords, here"> <meta name="author" content="Your Name">
-
Use semantic HTML tags like
<article>,<section>, and<nav> - Add descriptive
alttext to all images - Create a sitemap.xml file
-
Add Open Graph tags for better social media sharing:
<meta property="og:title" content="Your Title">
<meta property="og:description" content="Your Description">
<meta property="og:image" content="path/to/image.jpg">
Test Your SEO
Verify your optimizations using these tools:
- Google Search Console
- Lighthouse in Chrome DevTools
- Meta Tag Analyzer
- Mobile-Friendly Test
Remember: Good SEO combines technical optimization with quality content that provides value to your visitors.